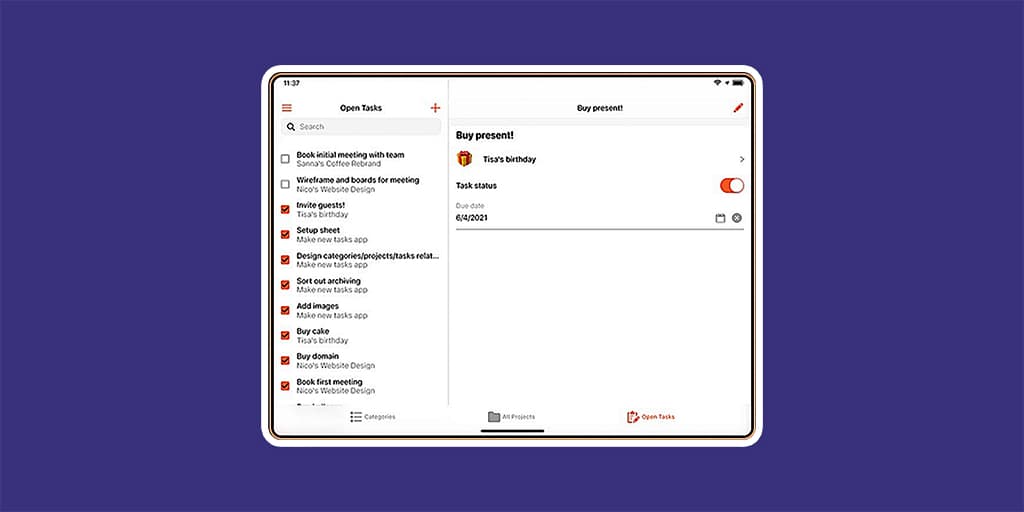
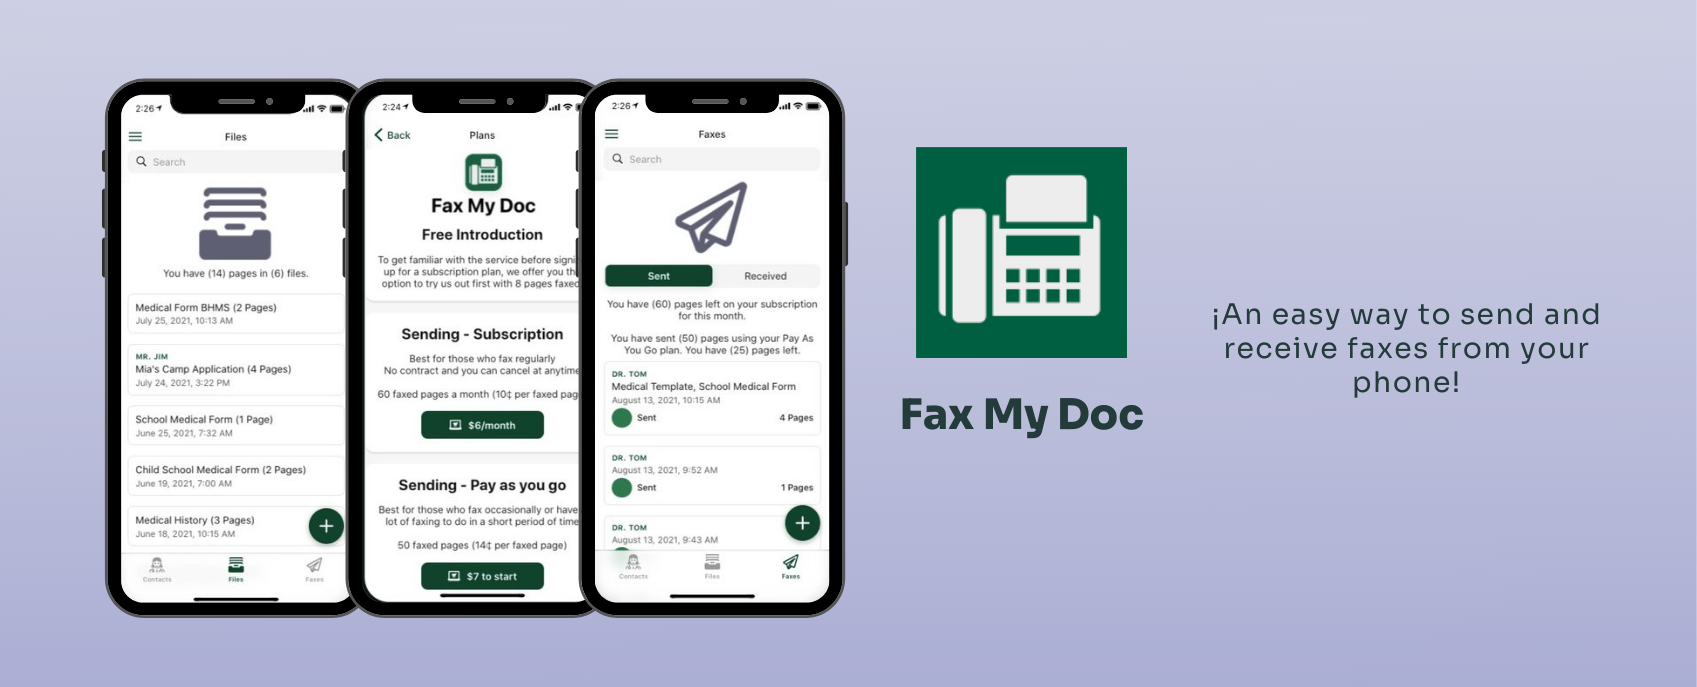
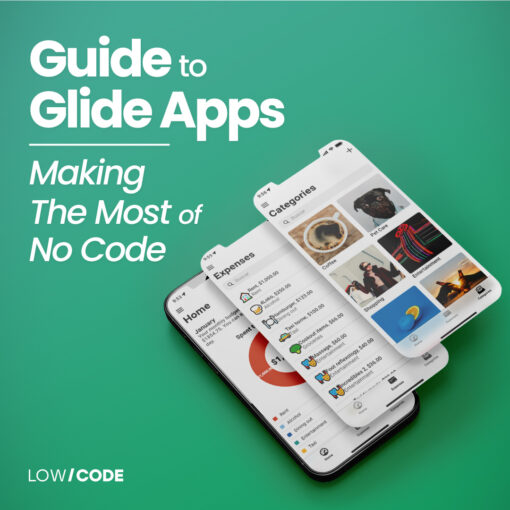
A Minimum Viable Product (or MVP in short) is a concept based on the fact that software development takes a long time before anything “usable” comes out of it, hence why we’re sharing a 12-step checklist that shows you how to build a good no code MVP in <21 days.
The rise of low-code technologies like Glide is also a major reason why building an MVP isn’t nearly as complex and tiresome as it used to be. For this particular checklist, we’re going to consider Glide as an example but you can apply this to any other low-code technology.
1- Define Your Audience & Problem to Solve

The audience is the basis of everything. Without one, you’re not solving a problem, you’re shouting into the void. An audience doesn’t necessarily have to be potential customers though.
It could be:
- Team members
- Business partners
- Third-parties like distributors
When you’re building specific solutions whether internally or facing outwards, the first thing you have to consider is who you’re “selling” that solution to. You can do this based on a bit of market research as well as personal experience in a specific industry or field you work in.
If you see a particular pain that isn’t resolved for many and that takes away from the experience of a specific task or process, that’s where you’ll want to start ideating a product to solve it.
Once you’ve identified your audience, you’ll want to outline their pain points in an audience persona document: a real-world representation of your ideal target person. If you need to, you can also go broader with an ideal audience profile which is at the organizational level.
The pain points of that specific audience are where you’ll start sketching out a potential solution, so you’ll want to spend time on asking questions to these people and try to envision what a product could do for them in that case that would make their lives easier.
2- Create a Simple Landing Page
The next step in the process is to create a simple landing page with a tool like Carrd to highlight the fundamentals of this problem that your audience is facing, and what you’re planning to do to solve it. We recommend creating one as soon as you have an idea of the target audience.
This landing page doesn’t have to be perfect, quite the opposite actually. All you want is to put your idea down “on paper” and live for the world to see so that you have more than just an idea roaming around your head but rather something that your target audience can see.
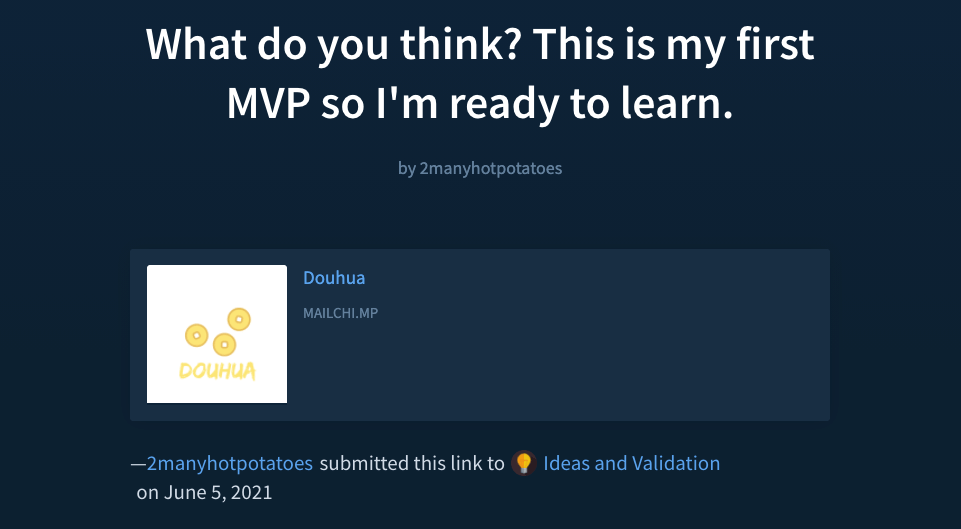
Of course, a landing page by itself won’t do the hard work for you; you still have to get that page in the hands of your target audience so that they can go through it and provide feedback (more on this in step #4). Some best practices on sharing a landing page are as follows:
- Most importantly, and perhaps most commonly, you should avoid spamming people with a link to your landing page. The hard truth about building new products is that nobody cares. They will care only if what they see resonates with them.
- Based on the first point, make it resonate. Don’t send a landing page that talks about automating papers for government contractors in a forum of gadget enthusiasts. Instead of casting the widest net possible, you have to go specific. Less is more here.
- Finally, you’ll want to ensure that the page loads fast. Another hard truth about building web products is that people are really lazy with technology. If the page doesn’t load in <3-4 seconds, they’re out. If you use Carrd for this, you won’t have a problem.
Adding imagery and visuals to your landing page is a plus but not a necessity. If you can explain the problem in just a few sentences and convince the reader through words (and perhaps some design elements / stock images) only, then the job is done well on your end.
4- Collect Feedback from Page Visitors

When a visitor checks out your landing page, it means that you’ve done enough to have them land there in the first place (i.e. they’re interested in what you offer, congrats!).
Now is the most important time!
Don’t think that just because they landed on it they will come back.
Quite the opposite… It’s demonstrated that 90%+ of visitors to your first landing page or even the entire website will never return to it. So you have to make that interaction count—quickly.
The best way to do this is to have a “notify me” email address form front and center on your new landing page. It should be visible when the visitor loads either the mobile or desktop version.
Just because a person is visiting your website doesn’t mean that they’ll want to be spammed in their email inbox, however. You want to craft a benefits-driven message for them that will lead to sign-ups and potentially a long-term relationship with this person.
Then, you need to follow up on that promise. If a person signs up and they don’t see anything from you for months until you’ve launched, they’ll unsubscribe straight away.
Why?
Because the expectations weren’t met.
People want to be a part of something, they don’t want to be sold to. When you integrate them in the process of building your MVP, they’ll be much more likely to give you useful feedback once it’s time to launch, or perhaps even help during the development process…
Getting back to them via email is just as important as building the thing!
5- Define Features & Requirements
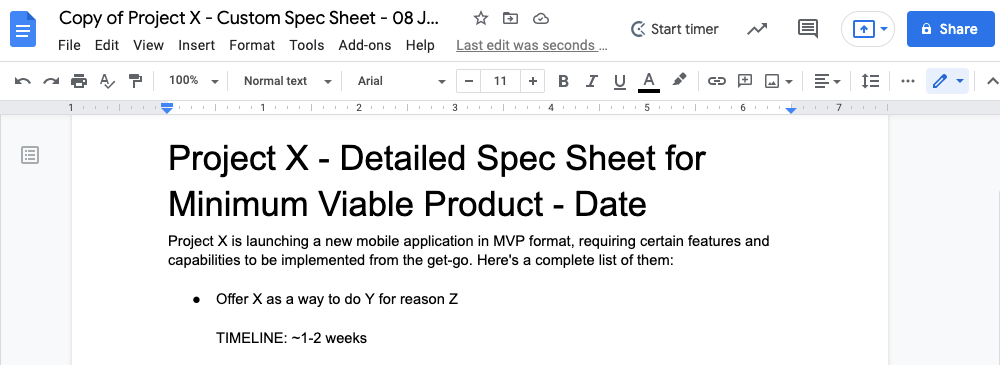
One of the “fun” parts of building your solution is to define the features that it will have. A bit less fun is to understand the requirements that sit behind those features and capabilities.
Some pointers here:
- Don’t act emotionally when choosing features. The product is not for you to consume but for your audience to get value out of. Picking features based on personal preference will only end up in an MVP that doesn’t align with your audience’s needs and wants.
- Understand how long it will take to make a specific feature happen. Some may be as easy as one day of light development, some may require a week of deep diving. You can’t measure features on the same scale; make sure you highlight the timelines
- Make a spec sheet of all the features that you want to develop as part of your MVP and how they will come together into one or two capabilities that will solve the audience’s needs. Also, mark each feature with “necessary” or “nice-to-have” for our next point.
- Try and stick to a maximum of 2 capabilities. A capability is a set of 3-4 features that, when combined together, make for a solution or use case. Features can be reused for different capabilities but not vice versa. Try to stick to max 2 for your first MVP.
Once you’ve gone through this exercise, you’ll be ready to dive deep into the development process. We recommend using a low-code technology like Glide to make this happen.
6- Use a Low-Code Platform like Glide
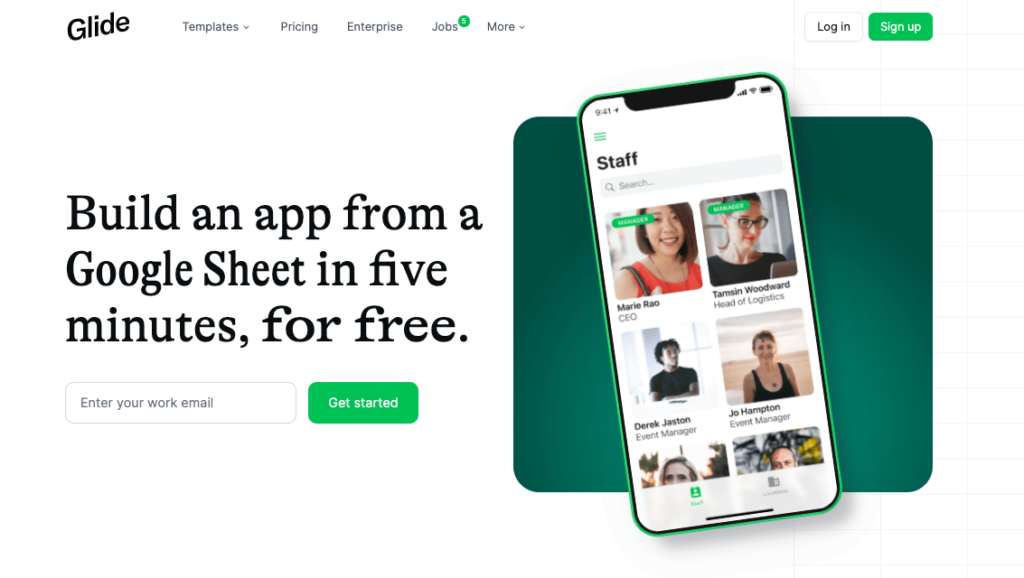
Building an MVP from scratch on your own will take forever if you use traditional programming means, and it will be expensive. With Glide, you can bring up an app for as little as $5000, and with the additional help of a no-code agency like LowCode Agency who can ensure quality output.
Glide is a powerful visual development tool that allows you to use something as simple as a Google Sheets document as a database. Plus, it’s a scalable platform that will allow you to switch to more flexible tools like a MySQL database if you find it necessary over time.
7- Sketch Out Your Visual Identity
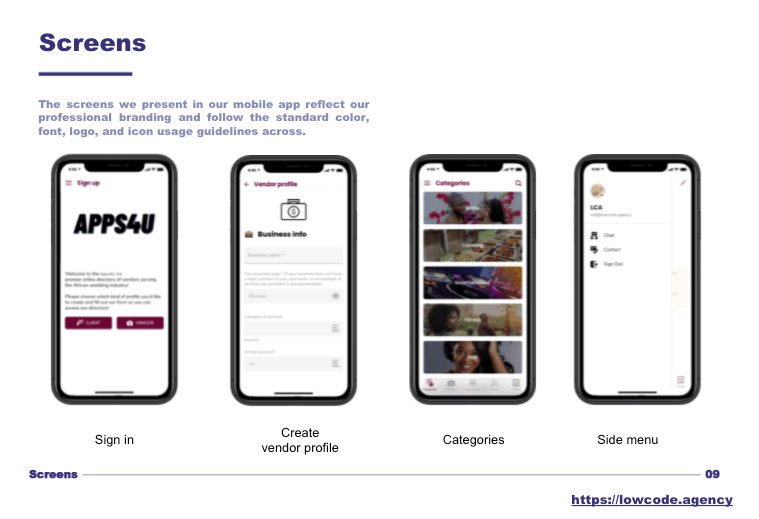
Unlike popular opinion, branding is not the first step to creating a solution, but it is one of the necessary steps. Specifically, it comes in as you go through with the requirements.
A brand is more than just a logo, some fonts, and a few colors though. You have to create a sense of identity that goes with your brand name, and for that, we have just the right template.
8– Build The App
You have your spec sheet in place, you have the first version of your brand set up, now you just need to create the thing! But, how? It’s not really that easy to bring a complex software piece such as a mobile app up from scratch; it takes years to learn the proper best practices.
Thanks to low-code/no-code technology like Glide, the cost of web app development has lowered significantly in recent years, making it a viable option even for small businesses—not just giant corporations. So, it makes sense to re-invest some of those savings into a professional build.
LowCode Agency can get you a professional MVP up in less than 4 weeks and with the same quality you’d expect from a top-tier app; whether for internal or external purposes.
We cover the entire app development process, from helping sketch out the design to drafting the first version to finalizing the app pre-launch and, finally, launching it for the world to see.
This process is tiresome and time-consuming, making the choice of going with a provider not only a way to save time but also a way to reduce the cognitive load that comes with it.
9- Position Your Brand Against Your Audience
As the app is being built, some of the features drafted can be used to position your brand against the needs and wants of your target audience. Finally, you will have something tangible to show them, and you’ll want to expand on that initial landing page with more content to share.
10- Get Your App Tested Across Devices
Testing is a key part of any successful MVP development process as it will lead to the best results for all of your prospective users; not just a few who won’t notice the bugs.
An MVP should launch with the initial features it has in as polished of a state as possible, meaning that you’ll want to test across devices, browsers, and operating systems.
This work isn’t as hard to do as it once was (imagine having to buy one device for each testing component just for the sake of launching an app!) but it’s still somewhat time-consuming.
Platforms like Glide allow you to view different device sizes as well as device types but some real-world testing is still necessary for the finalized MVP to prove its robustness.
11- Launch the 1st Iteration of the App
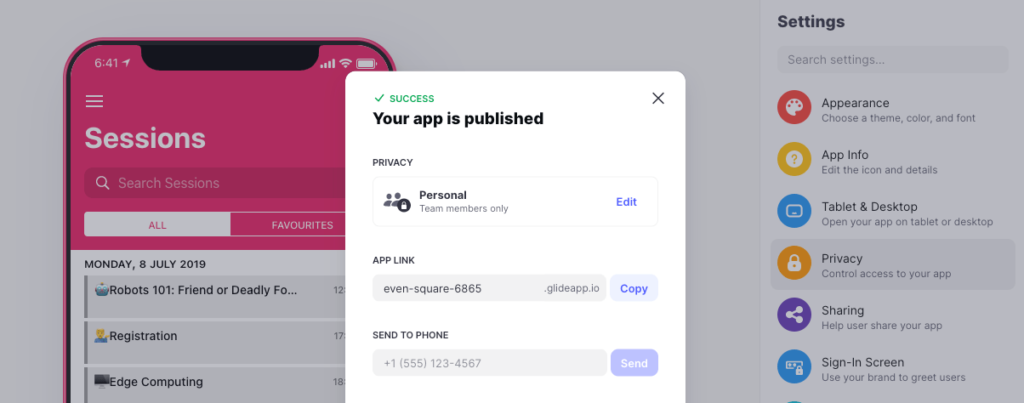
You’re now ready to launch your MVP, congrats! With Glide, you can do this with the simple click of a button. But remember, launching isn’t nearly as important as connecting with your audience throughout the process, so make sure you send out those emails on a weekly basis.
12- Invite “Early Bird” Users To Sign Up
Crafting a special offer for people who expressed interest when you first launched your landing page is a great way to get “early bird” users onto the platform and give you feedback when you need it most. That feedback will go on to become the lifeblood of your digital product.
The 12 checklist steps highlighted above are a complete representation of what it takes to validate, design, create, launch, and distribute a Minimum Viable Product.
To bring the checklist with you during the initial stages so you can reference it back to it, make sure to download the PDF attached below and share it with your coworkers!

Frequently Asked Questions
An example of a Minimum Viable Product is a delivery tracking app that shows where the package is at the moment—and nothing else—or a video sharing app that only allows you to create a video and share it directly with the person you care about. An MVP has all the basic functionality to do its intended job and nothing more; you then build on top of that.
Developing a Minimum Viable Product (MVP) is a 12-step process that requires validation of a business problem, early audience building, some branding, working on 2-3 major features which make up one capability (the “minimum” part of the product), and others explained in the post.
To create an MVP you need a brand to highlight front and center, a list of features that you’d like to make available based on prospective user feedback, and a good technology platform to work off of (as well as the design and development skills necessary). You can get a professional MVP off the ground for as little as $2500 with the help of professionals like LowCode Agency.
The 12 steps to building an MVP are: 1) Define the problem; 2) Design a simple landing page; 3) Validate the problem; 4) Collect feedback from visitors; 5) Define the MVP features; 6) Choose the technology to design your MVP; 7) Sketch out your branding; 8) Hire a professional; 9) Position your brand; 10) Get your MVP tested; 11) Launch, and; 12) Invite early bird users.

Jesus is the founder of Low Code Agency: a low-code development agency that allows small business owners to get their mobile and web apps done fast and cost-effectively while maintaining quality.

